Crafting a dirt bike track can be an exhilarating project. It demands thoughtful planning, attention to detail, and a solid understanding of best practices. Whether you're an experienced rider, an enthusiastic promoter, or new to track operations, this guide will help you with the basics of dirt bike track design to deliver thrilling, safe experiences.
Dirt bike track design involves balancing factors like rider safety, track flow, and obstacles. Here's what you must consider before breaking ground:
Choosing Your Location
Selecting the right location for your motocross track is fundamental for success. While traditional outdoor locations provide plenty of opportunities, the evolution of electric dirt bikes also unlocks innovative new possibilities in urban and suburban communities.
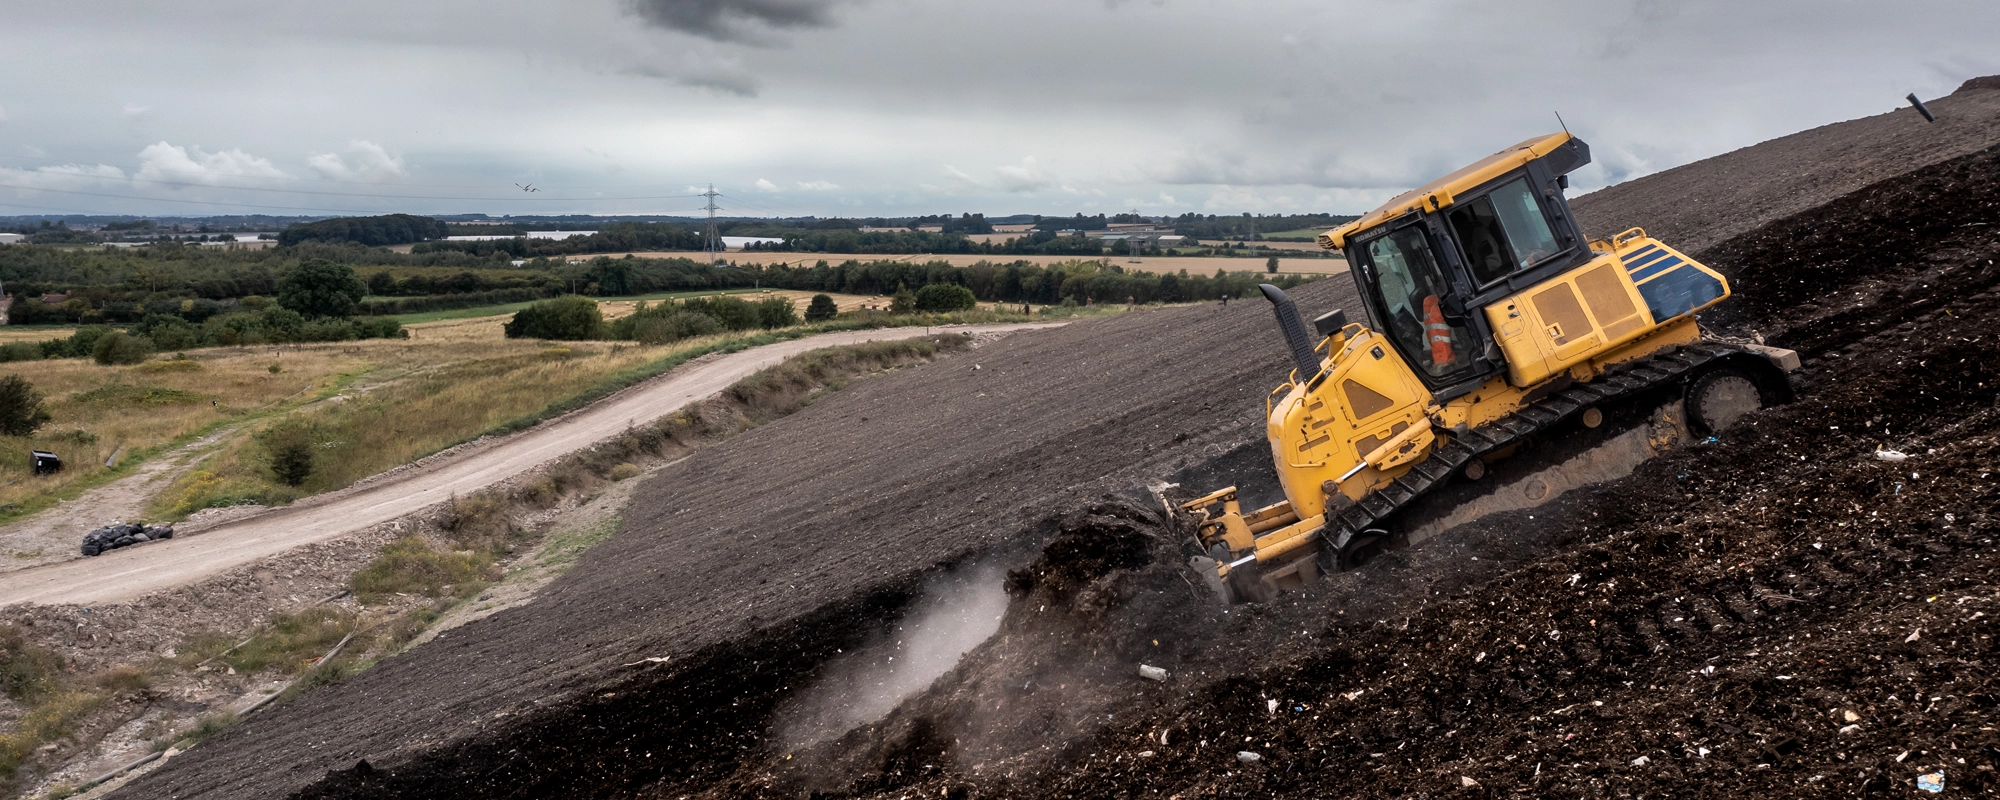
When evaluating outdoor locations, begin by carefully assessing the land. Search for natural features—hills, slopes, existing obstacles—that add excitement and reduce construction effort. Analyze soil quality, checking for good drainage and suitable traction conditions. Clearly define track dimensions, ensuring there’s adequate space not only for the course itself, but also for safety zones, spectator seating, parking, and rider staging areas.
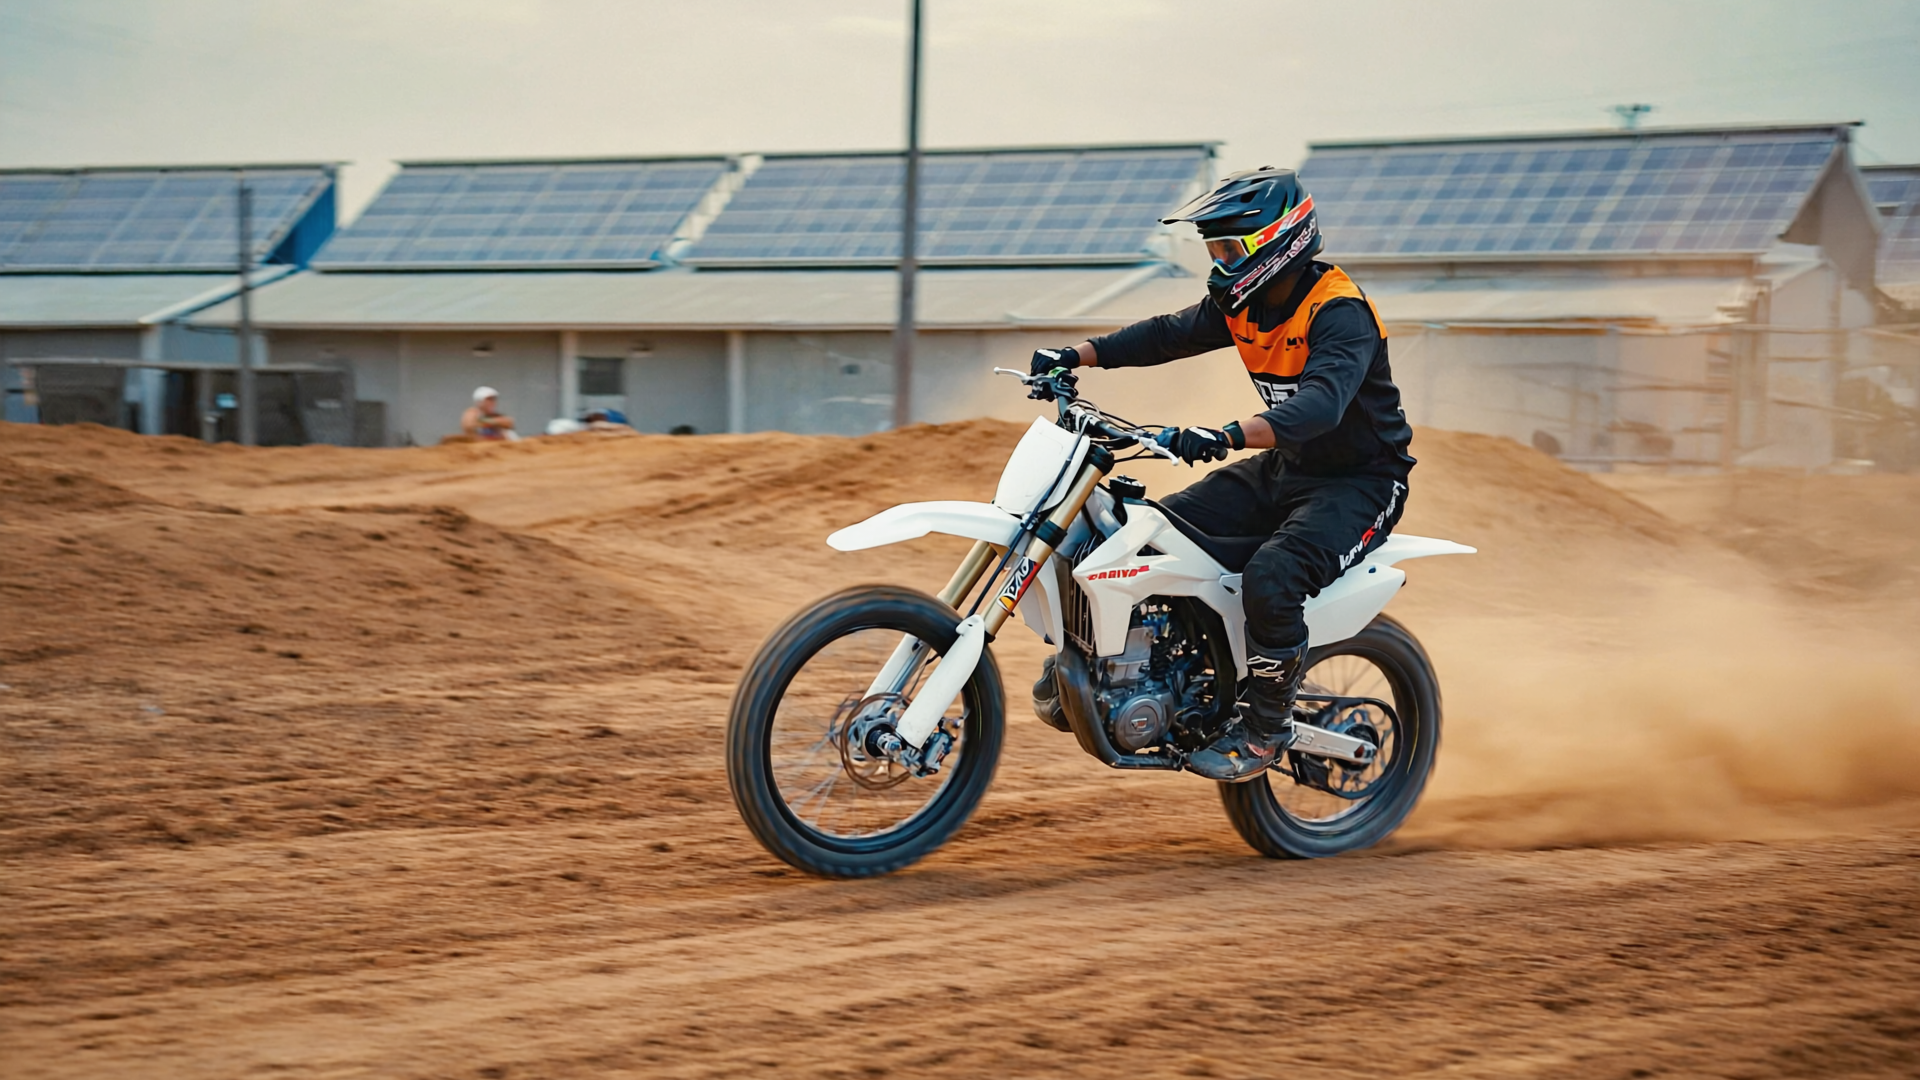
Alternatively, embrace the growing trend toward electric motocross and consider transforming existing indoor spaces. Empty malls, large warehouses, industrial buildings, and other unused commercial properties in urban and suburban areas are ideal candidates to repurpose—as vibrant, electric-only motocross facilities. Electric dirt bikes eliminate noise and emissions concerns, enabling proximity to dense populations and easy accessibility year-round. These indoor motocross parks offer consistent traction, controlled climates, and weather-independent operation.
For indoor spaces, plan for smaller-footprint obstacles, creative track layouts, and controlled airflow systems. Many are turning to
X-Track Solutions for partial or full obstacles installments. Their technology been used in
SuperMotocross,
Arenacross as well as
WSX events.
Whether designing an outdoor track utilizing natural landscape, or pioneering indoor motocross in urban environments, selecting and planning your track’s location is the critical foundation for future success.
Building Your Track Layout and Flow
An exceptional
motocross track layout intuitively guides riders through a logical sequence of obstacles and turns. It should flow smoothly, providing a stimulating, safe experience suitable for different skill levels. To create the ideal riding experience, carefully consider layout, sequencing, and rider feedback throughout the design process.
Track Design
To get started:
- Measure your land by using Google Maps to get an idea of overall area to help guide your track layout options.
- Recreate the land dimensions clearly on paper or a design software (Sketchup, Adobe Illustrator, Figma, CAD).
- Sketch a variety of layout options, flows and sections. Be mindful of land entrance, parking, spectator seating and natural hazards.
Plot the Course
Once you've designed your course:
- Use a series of color coded stakes to plot the track on your land. Precise plotting helps you visualize rider paths, identify potential bottlenecks, and ensure safe distances between obstacles.
- Test-ride the layout. Riding the proposed path gives you critical insights about real-world rider experience, timing between jumps, and overall track rhythm and flow.
- Once you feel comfortable with a course, build basic obstacles to test the track.
Key Planning Considerations:
- Smooth Transitions: Ensure gentle yet exciting transitions into and out of turns, obstacles, rhythm sections, and straightaways.
- Passing Opportunities: Design ample passing areas and multiple-line cornering to reduce collision risks and increase strategic racing potential.
- Balanced Rhythm Sections: Create rhythm patterns and jump spacing aligned with rider expertise levels, balancing excitement with practical safety considerations
Taking the time to carefully plot, test-ride, solicit feedback, and thoroughly mark your course contributes enormously to motocross track success. These extra preparation steps can make the difference between an ordinary motocross layout and an outstanding one—setting a strong foundation for safety, competition, and rider enjoyment.
Seek Rider and Professional Feedback
Before finalizing your layout or breaking ground extensively, share your proposed track design with experienced motocross riders, coaches, promoters, and builders. Many professional track builders offer consulting services. It is money well spent to bring them on site and get their professional opinion as you finalize design and start building. Not to mention, gathering feedback from diverse skill levels helps expose hidden challenges, improves safety, and maximizes rider enjoyment.
These interactions often produce proven strategies for managing rider traffic, passing opportunities, proper jump spacing, and other nuanced elements critical to a successful layout.
Building Jumps
Carefully
designed jumps are essential for creating excitement, challenge, and rider safety on your motocross track. Proper jump placement enhances riding flow, while thoughtful sizing and angled jump lips optimize performance and safety at every rider skill level.
When placing jumps, tailor their size to riders' experience and bike class:
- Beginners (50cc–85cc bikes): 5–10 feet long, 1–3 feet high
- Intermediate (125cc–250cc bikes): 10–20 feet long, 3–6 feet high
- Advanced (250cc+ bikes): 15–30+ feet long, 5–10+ feet high
Maintain consistent spacing between jumps. Avoid overcrowding, and provide generous run-up and landing spaces. These spacing practices ensure riders safely maintain momentum, rhythm, and control.
Jump Angles
Jump angles make a significant difference in rider trajectory. Steeper angles (60–80 degrees) emphasize vertical lift, creating jumps with greater height but shorter horizontal distance. Flatter angles around 45 degrees offer a balance, ideal for tabletop jumps that require moderate height and maximal forward travel.
Take these angles at a standard speed of 15 mph as reference points:
- 45-degree lip: approximately 15 feet forward distance, about 3.8 feet in height
- 80-degree lip: minimal forward movement, but significant upward lift (around 7 feet high)
Use precise measurement tools—such as inclinometers, levels, and measuring tapes—to accurately shape jump angles. Thoughtful design precision ensures exhilarating jumps that are safe and accessible for all riders.
As you bring your motocross track vision to life, remember these practical details to ensure long-lasting success and rider satisfaction:
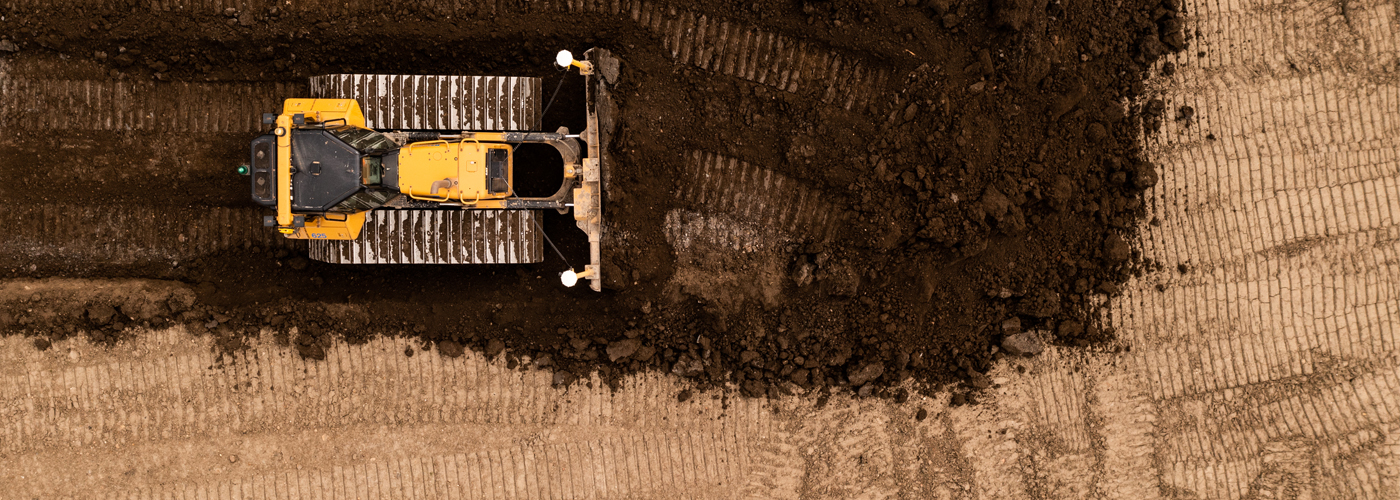
- Smart Surface Preparation and Drainage: A premium riding surface provides consistent traction and reduces rider risk. Invest effort into careful surface grading, ensuring a track with efficient water drainage. Doing this maintains optimal conditions, prevents significant ruts, limits dust, and eases ongoing maintenance.
- Wind and Sunlight Management: Thoughtfully position your track to account for sunlight angles and regional wind patterns. Avoid placing jumps where riders face direct sun glare. Plan spectator areas away from the direction of prevailing winds and dust.
These intentional choices significantly boost rider visibility and enjoyment, improve spectator comfort, and enhance overall
track safety.
The racetracks themselves need to be challenging for the riders but also considered
safe. By taking these considerations seriously, you're proactively setting your track up for long-term safety, sustainability, and enjoyment. Thoughtful design today creates a motocross community gathering space that riders and spectators will genuinely appreciate for years to come.